
13 Jan Prepare to Paint: The Living Room
What you need to do before you break out the brushes
It doesn’t take long, you can give your living room an all new appearance in as quickly as twenty four hours. All it takes is a new coat of paint to create a design that looks completely different than it did previously. Make your bathroom look more beautiful than ever with these bathroom paints! These paints will give your bathroom lasting and durable moisture protection that looks even and professionally painted. For home painting, we use a great local painting company in brisbane.
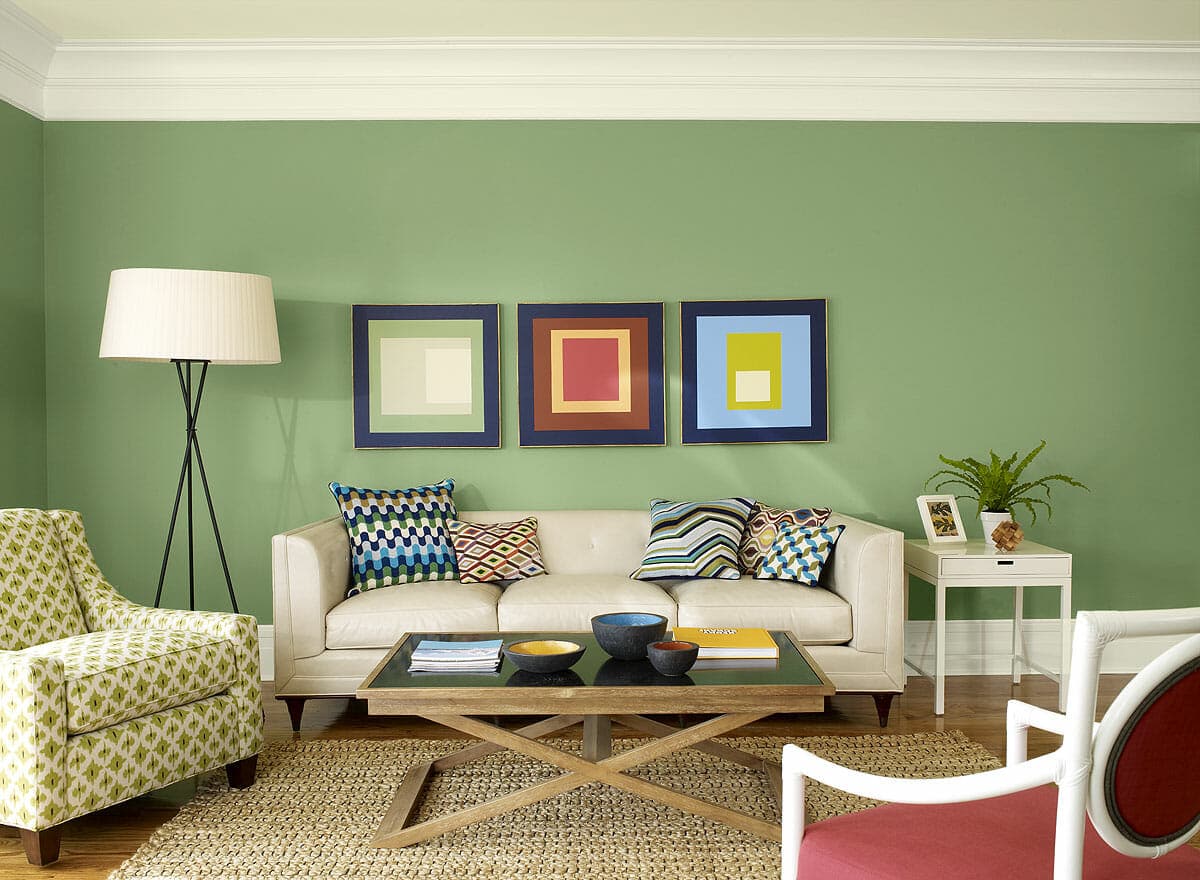
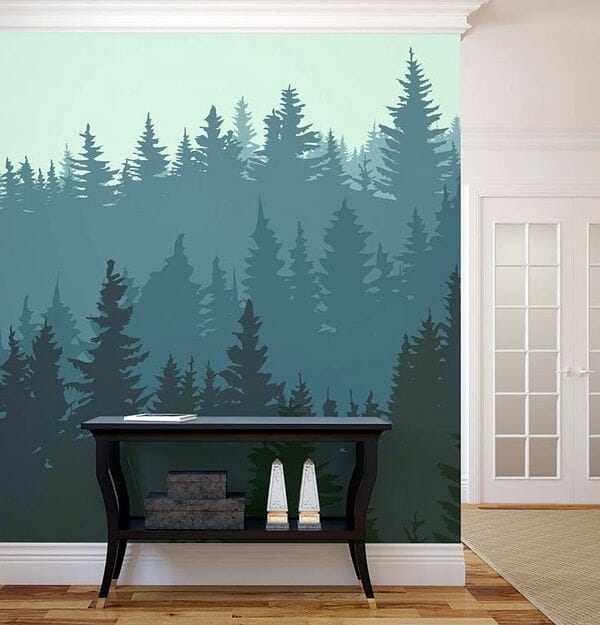
No need to buy new furniture or accessories, just a change of color to the walls of a room can make a profound transformation. Obviously painting a living room (especially if it’s a large one) will require a financial and physical investment. That’s why you need to take all of the necessary steps to ensure that you are fully prepared before you proceed. Work with a professional painting company to ensure that the painting job is done properly. You may visits sites like https://sapaintingservices.com.au/ for more info. Personalised wall stickers are also a trend right now in giving a room a sense of uniqueness. Check the rest of the article here: https://occupythefarm.org/best-paint-for-bathroom-ceiling.
First, pick a paint color for your residential or commercial painting project. Take your time, look at swatches and consider options like light or dark? What kind of finish will you use? Will you include stripes or stencils or molding? Just take the right steps with care to figure out the details. Don’t rush, there’s no need, do a little research and discover the truly most complementary shade for the room. They could assist you with the project if you would like a more professional-looking and longer-lasting end result as well. which would be well worth it.
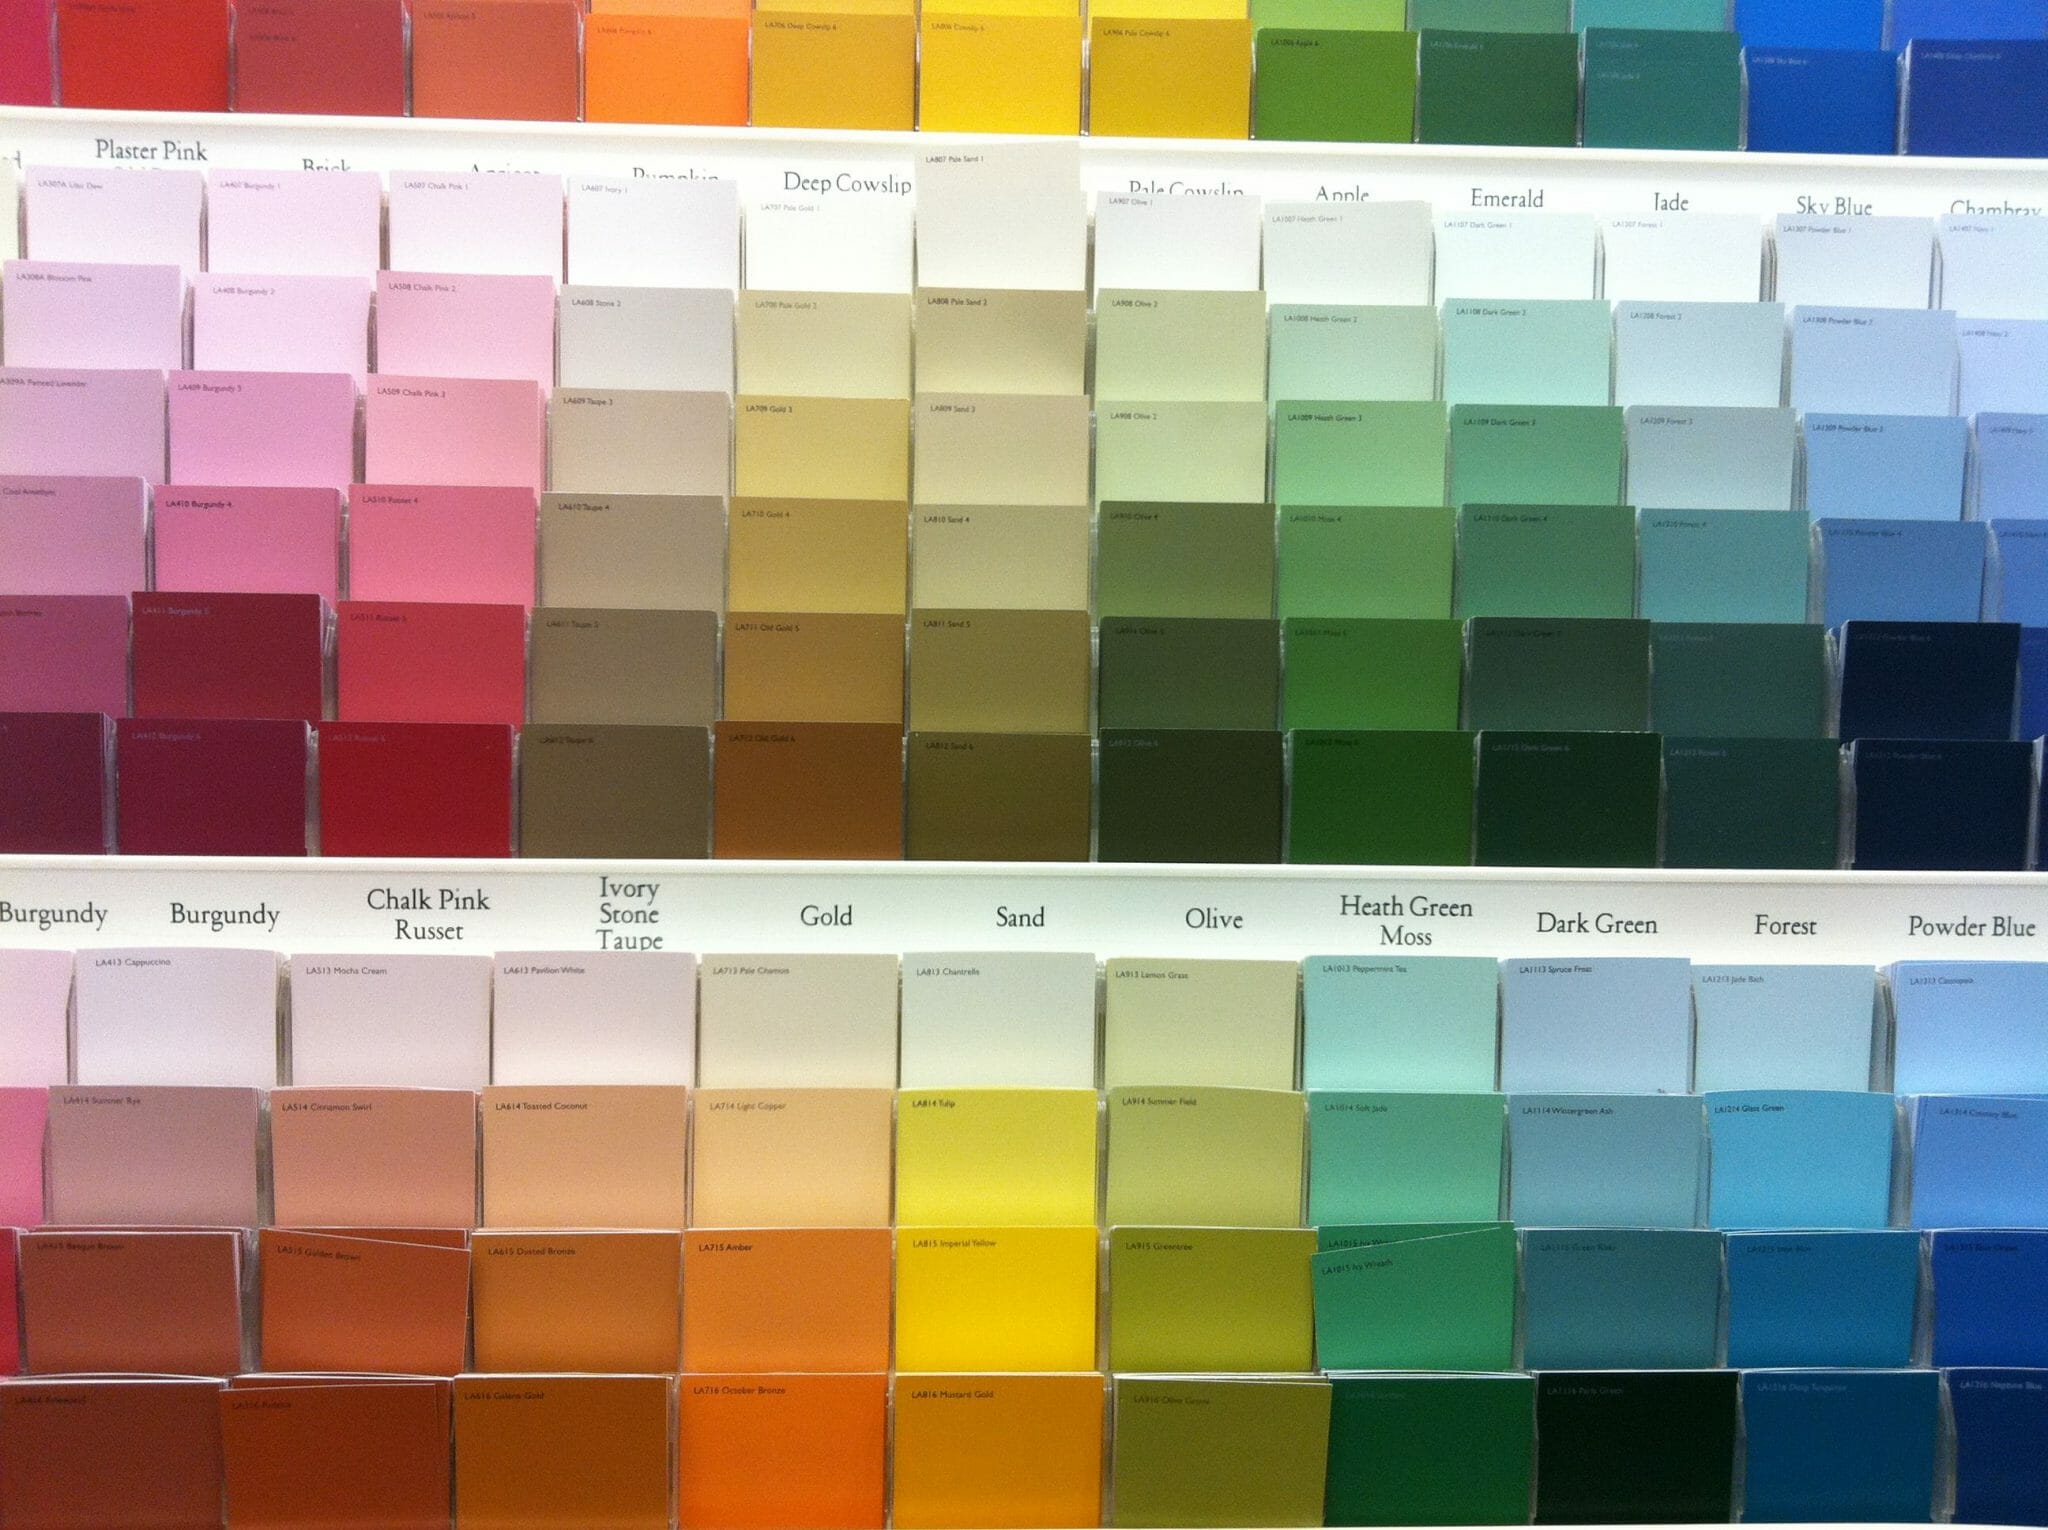
Once you’ve done that, it becomes time to test the color. How it looks in a photo or on a swatch will likely differ from its physical appearance on the wall. The main factor for a potentially profound difference is the lighting in the room. Illumination has a real effect on how paint appears in person. A room with plenty of windows will also have plenty of natural light. On the other hand one that depends on artificial lighting isn’t going to be nearly as bright. Obviously the time of day will have an effect on lighting as well, while also adding art from sites as from Instapainting can also help to improve the decoration of your home. These are things you must take into account. For instance if it’s a generally darker room you’re working with, you might want to go a shade that is slightly brighter than your original choice. Ask if your store has sample jars of the paint. Then try small patches in various places on the wall, check back later and see how they look between night and day light. Through a bit of trial and error you will discover the one that you can live with.
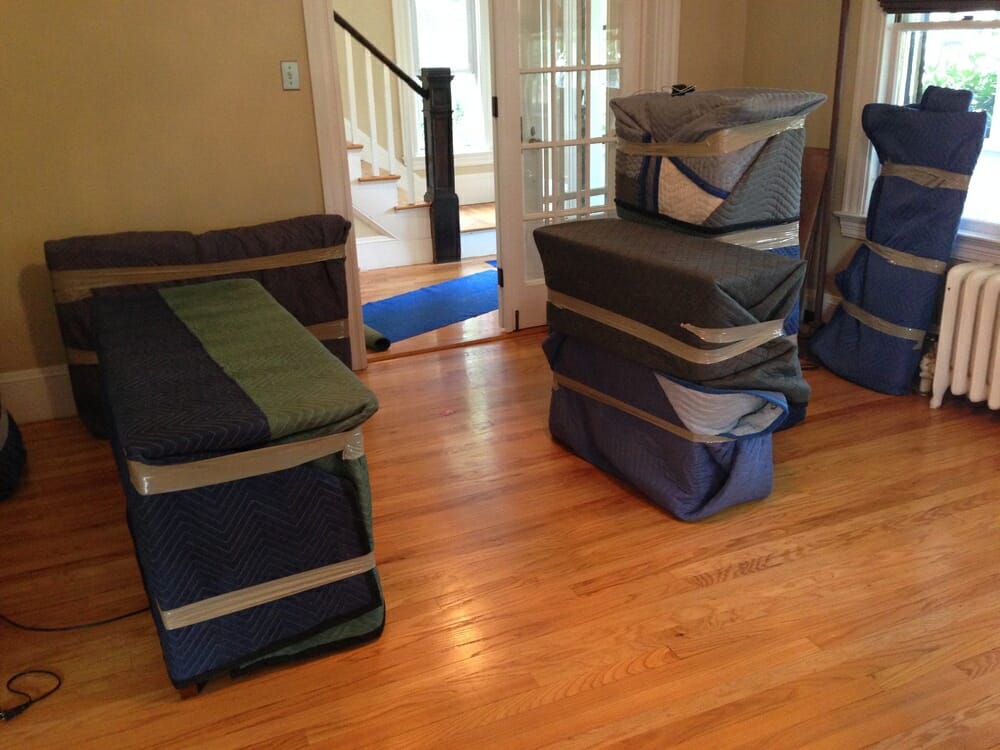
Have you removed everything from the room? Don’t fall for the lazy allure of simply pulling things from the wall and leaving them in the center of the room. This creates a safety hazard. Get as much as you can out and cover anything else with plastic or old sheets (called “drop cloths”) to protect from sanding dust and paint. Drop cloths are particularly important if you have wall to wall carpet. It’s almost impossible to get paint out of carpet so be sure it’s completely covered. It doesn’t matter what kind of floor you have spilling paint on it when its uncovered means a serious clean up that is guaranteed not to be fun. As far as area rugs, roll them up and remove them too.
Once you’ve determined the color, it’s time to prep the walls. You’ll need to clean them, sand them down, patch holes and cracks, and whatever may be necessary. If you don’t rid the dirt from the walls the paint won’t lay right, so it’s imperative to be certain they are fully clean. Grime could have accumulated greatly over years, so take your time and be thorough. Previous paint coats must be removed at this time too, especially if they are chipping. Add filler where needed and let it dry before sanding the wall to create a smooth surface. Then give it a last wipe down to remove any last remnants of dust.
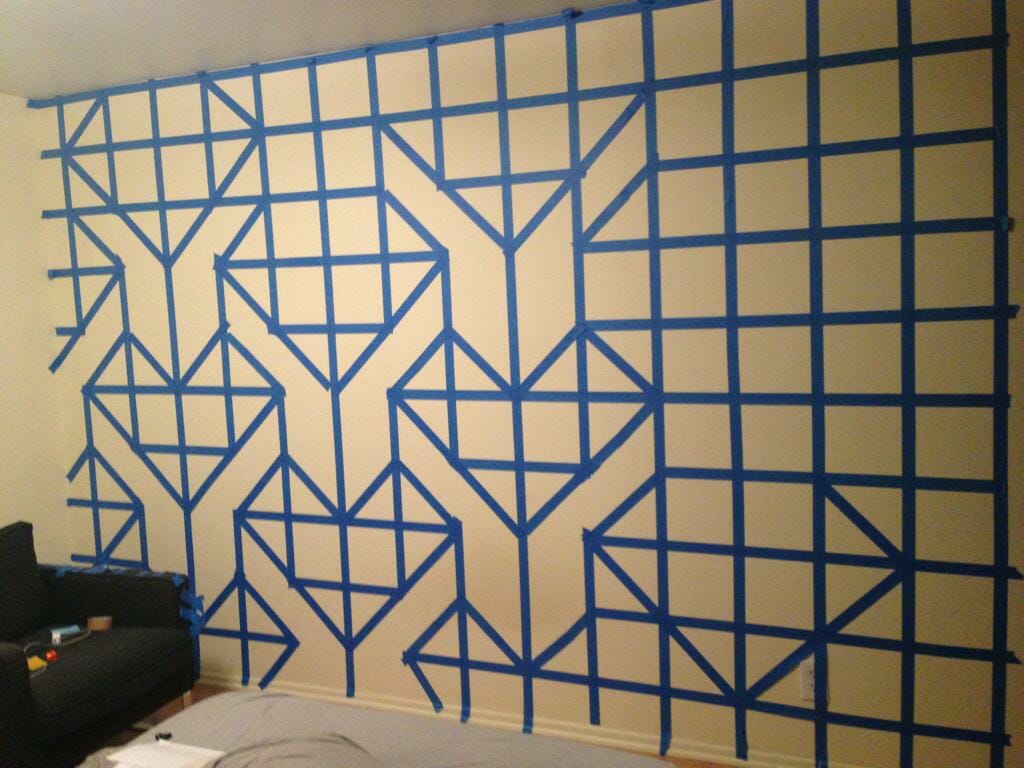
Now, it’s time to mask off areas with tape around the molding and trim. Taping will protect the trim of base board crown molding, door and window casings, char rail and wainscoting from accidental paint bleeds. It also prevents the need for later touch-up corrections. Use a quality masking tape, one that does not allow seepage.
Now, you want to organize. You have a collection of items that includes paint, rollers, trays, rags (or towels), tape, a ladder or two, and whatever else you have on hand for the job. Put them all in one place that makes sense in relation to what and where you’re painting. List the items in order of when you’ll need them and lay them out accordingly. This way you’ll prevent yourself from stopping in the middle of a project to locate a missing essential tool.

Lastly, you’ll find that you will have to prime the walls. It’s important if you want that really smooth and evenly distributed finish that is so desirable. Most walls absorb paint, so a failure to prime can result in lost cash via wasted extra paint coats. Especially if the walls are another color currently and you don’t prime them, you could be looking at many coats of paint before you fully conceal the existing hue. This is why priming is so important, it will help you avoid issues such as these and with any luck get it all right the first time. If you need help painting your living room, Armenta Painting LLC is a painting contractor Greensboro.
Sorry, the comment form is closed at this time.